Marville France
Wing Headquarters War Bunker
Click on the description text to view the photograph.
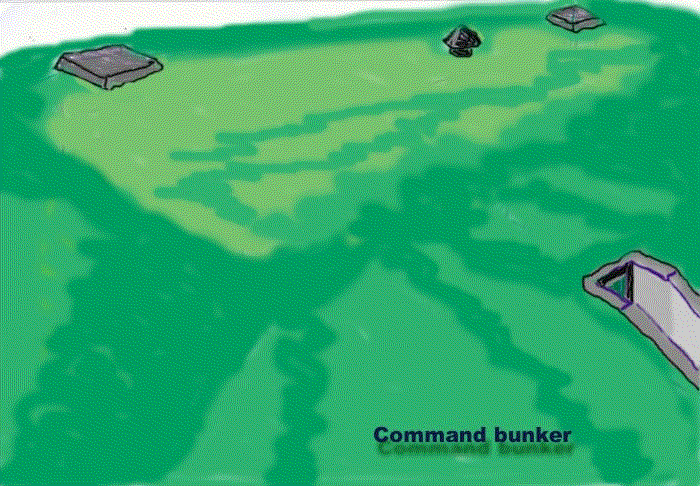
Animation of the Command Bunker (420 pixles in width - 213K) - 15 November 2003.
Courtesy Andy Little.
Larger image of the Command Bunker animation (700 pixles in width - 566K) - 15 November 2003.
Courtesy Andy Little.
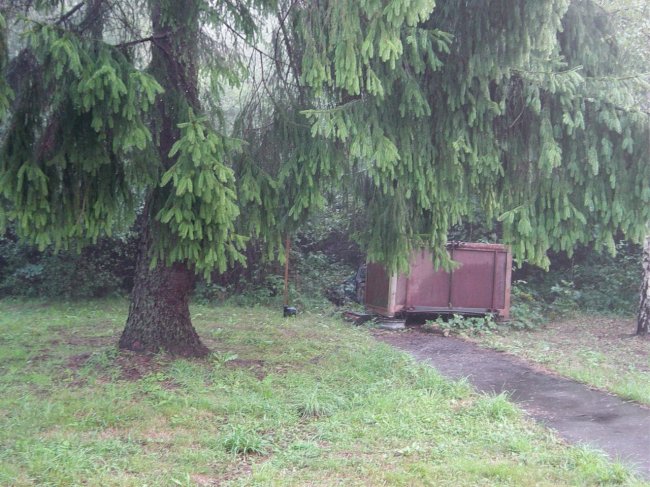
Path from the Headquarters building to the Headquarters War bunker - 6 September 2003.
Courtesy Andy Little.
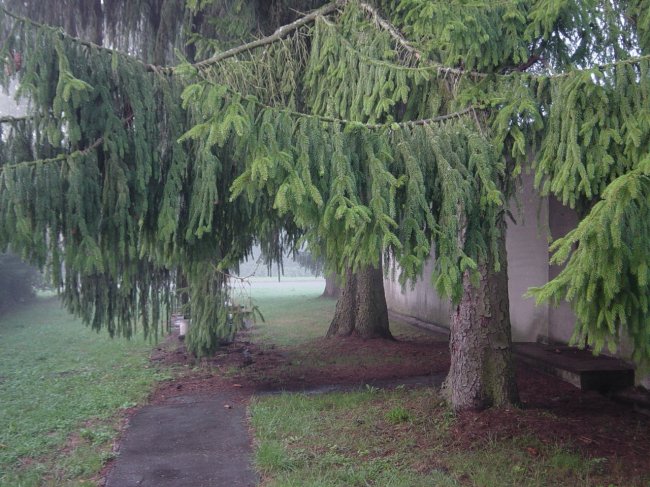
View from the entrance to the bunker looking back towards the Headquarters building - 6 September 2003.
Courtesy Andy Little.
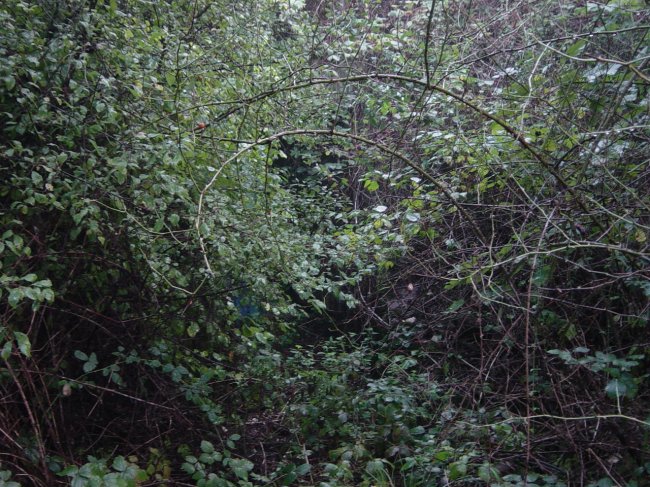
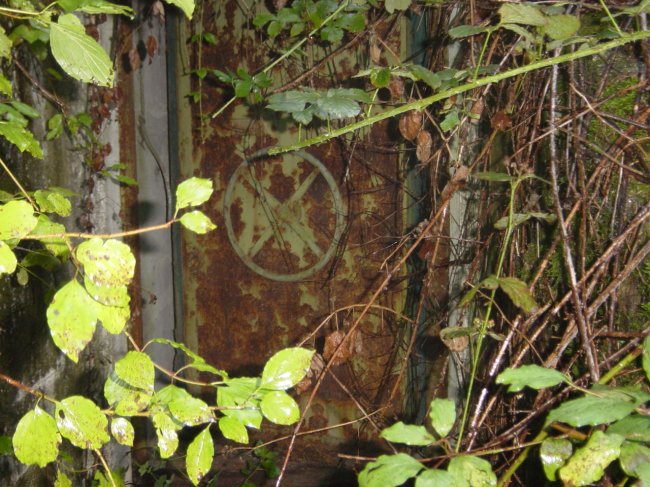
Entrance to bunker covered with foilage - 6 September 2003.
Courtesy Andy Little.
The main entrance door to the bunker - 6 September 2003.
We had to remove a considerable amount of foilage for this photo and to gain access.
Courtesy Andy Little.
Another view of the door to the bunker - 6 September 2003.
Courtesy Andy Little.
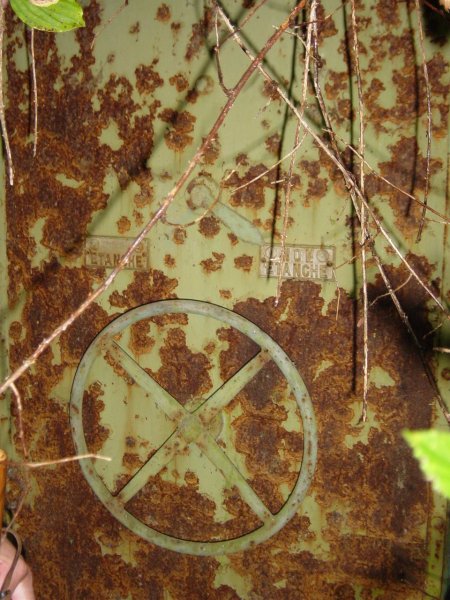
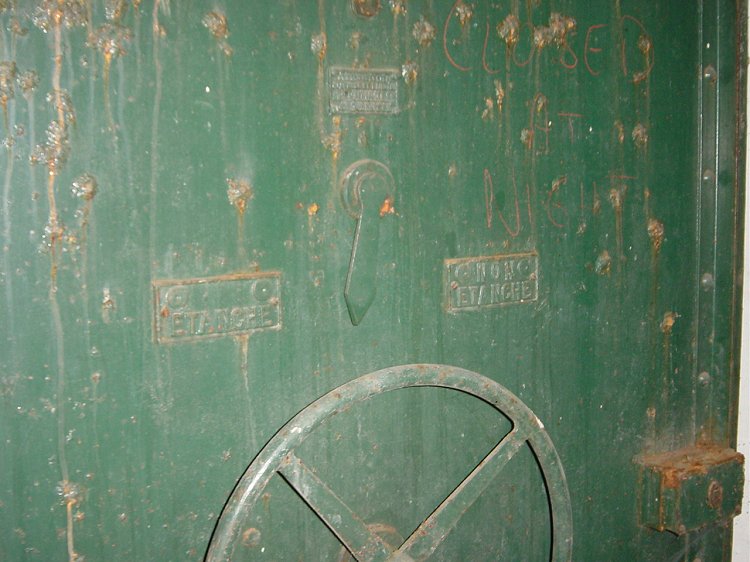
Detail on the exterior bunker access door - 6 September 2003.
"Etancher" (air tight) and "Non-etancher" (not air tight).
Courtesy Andy Little.
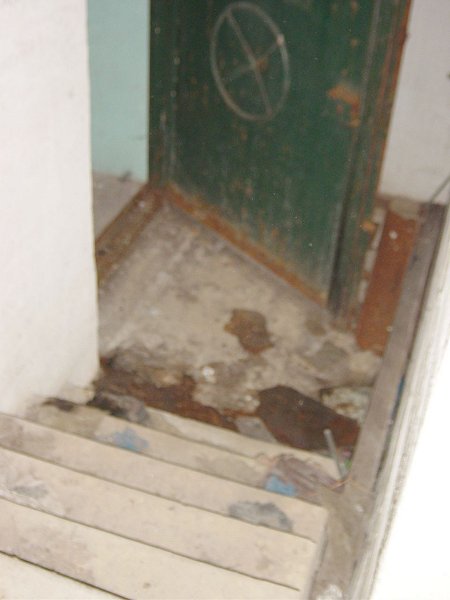
Progress into the bunker - 6 September 2003.
This view is within the bunker with steps leading down to the second door of the air lock.
Courtesy Andy Little.
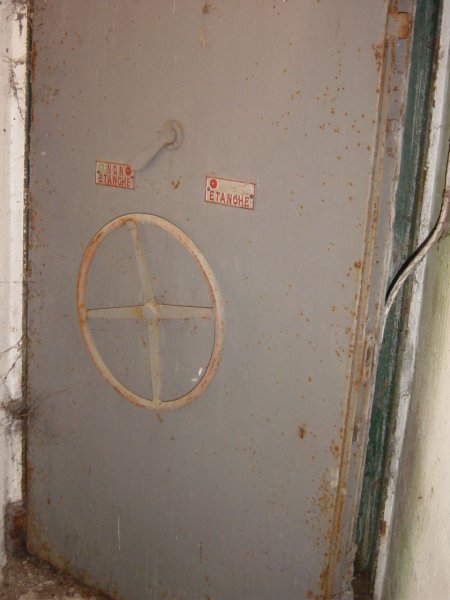
Detail on the interior bunker access door - 6 September 2003.
Courtesy Andy Little.
Showers in the air lock were to be used for decontamination - 6 September 2003.
Courtesy Andy Little.
Interior photo of one of the main rooms showing the entrance to an escape shaft - 6 September 2003.
Courtesy Andy Little.
Slightly different angle of the main room showing the entrance to an escape shaft - 6 September 2003.
Courtesy Andy Little.
Close up view of the entrance to the "escape shaft" - 6 September 2003.
Courtesy Andy Little.
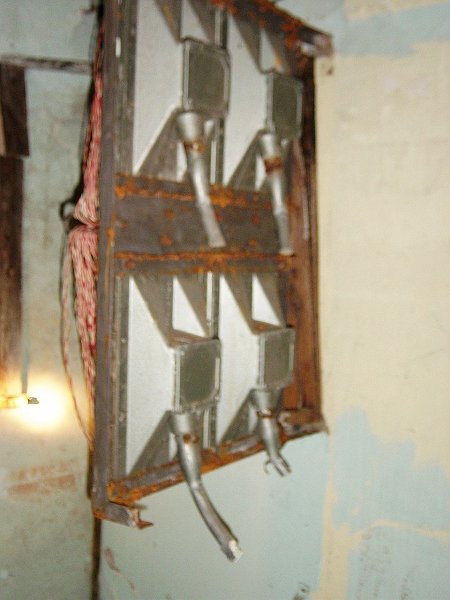
Site of main power distribution with the remains of the input cable at the top of the photo - 6 September 2003.
Courtesy Andy Little.
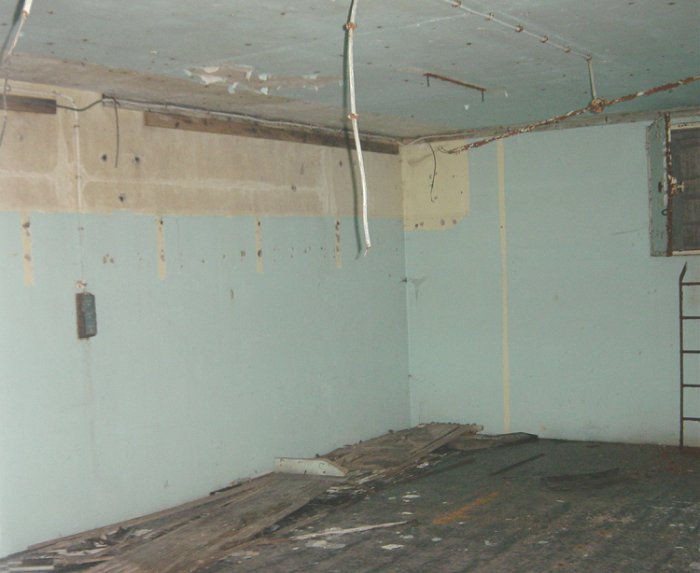
Another view of the same room - 6 September 2003.
Courtesy Andy Little.
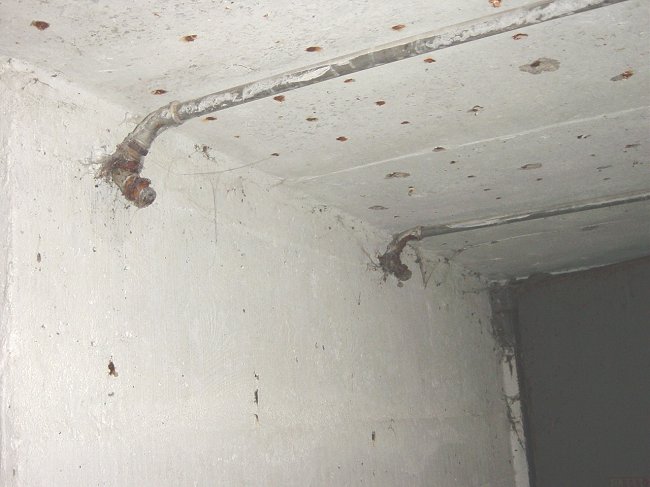
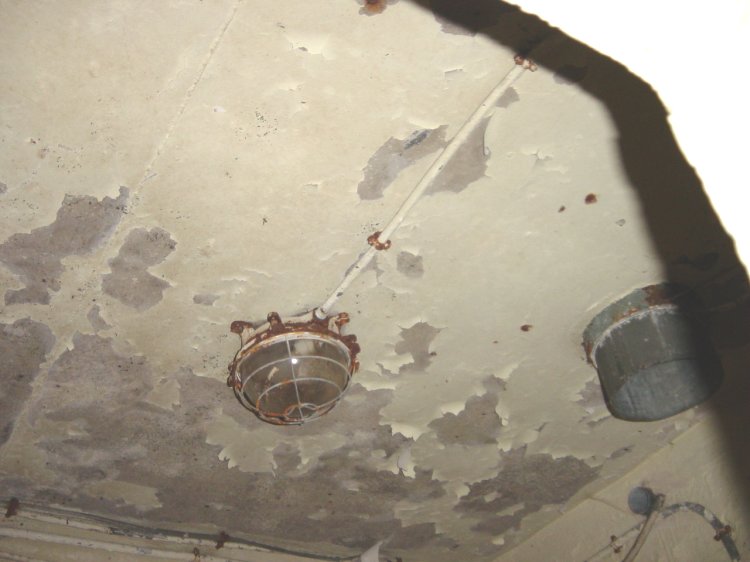
Ceiling detail showing electrical lights and air vents - 6 September 2003.
Courtesy Andy Little.
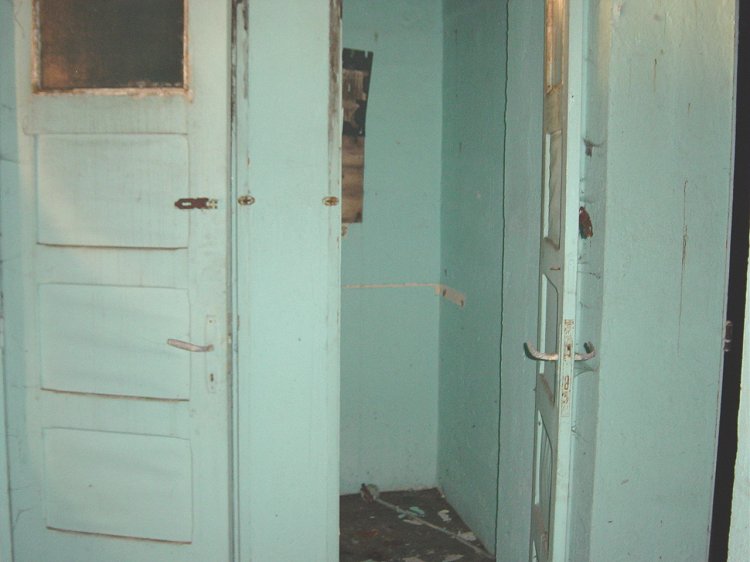
These two cubicals could have been used for chemical toilets - 6 September 2003.
Courtesy Andy Little.
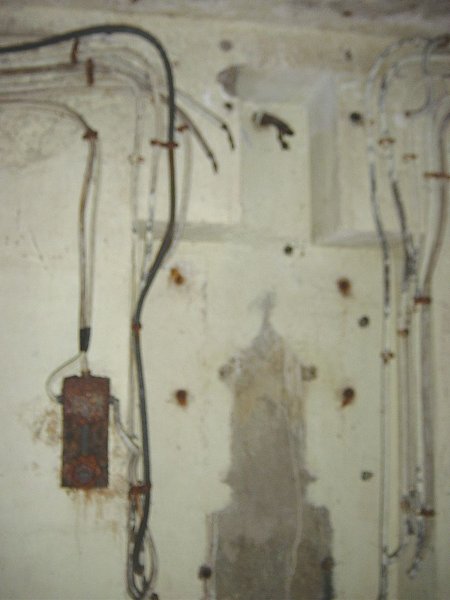
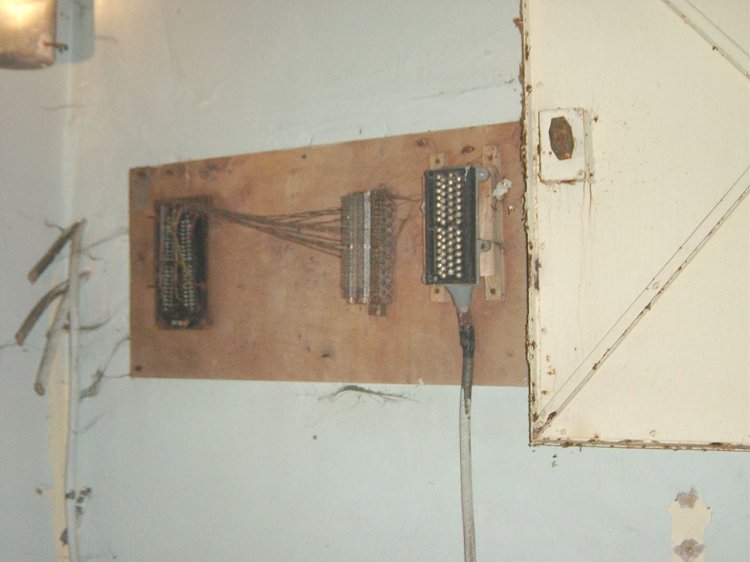
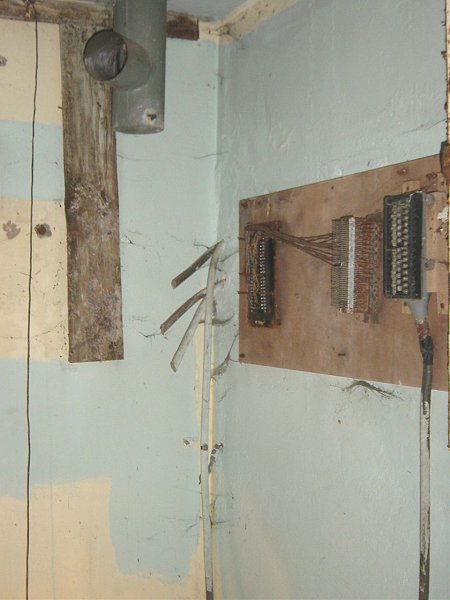
Remains of the main telephone feed and distribution board - 6 September 2003.
Courtesy Andy Little.
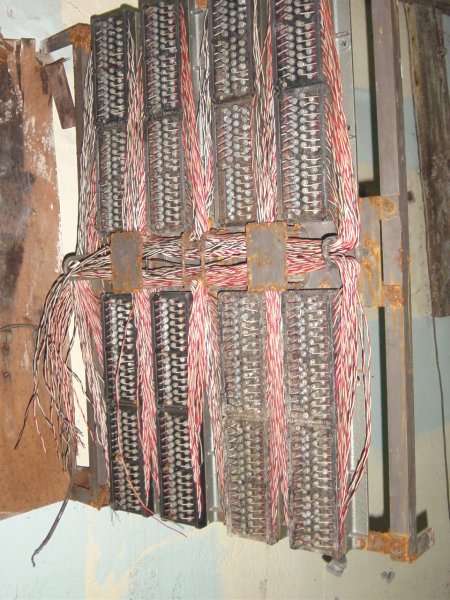
Remains of telephone wiring system - 6 September 2003.
Courtesy Andy Little.
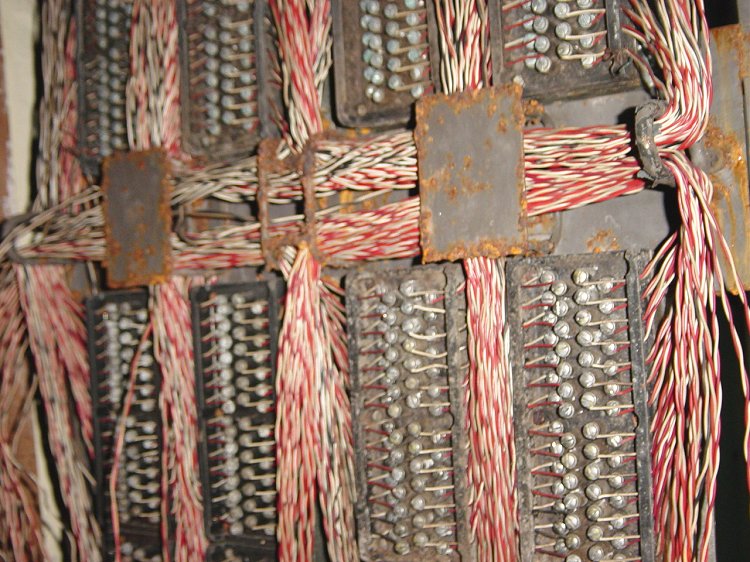
Remains of the main telephone feed and distribution board - 6 September 2003.
Courtesy Andy Little.
Remains of the main telephone feed and distribution board - 6 September 2003.
Courtesy Andy Little.
Second escape shaft in the telephone cable room - 6 September 2003.
Courtesy Andy Little.
Note the air system above - 6 September 2003.
Courtesy Andy Little.
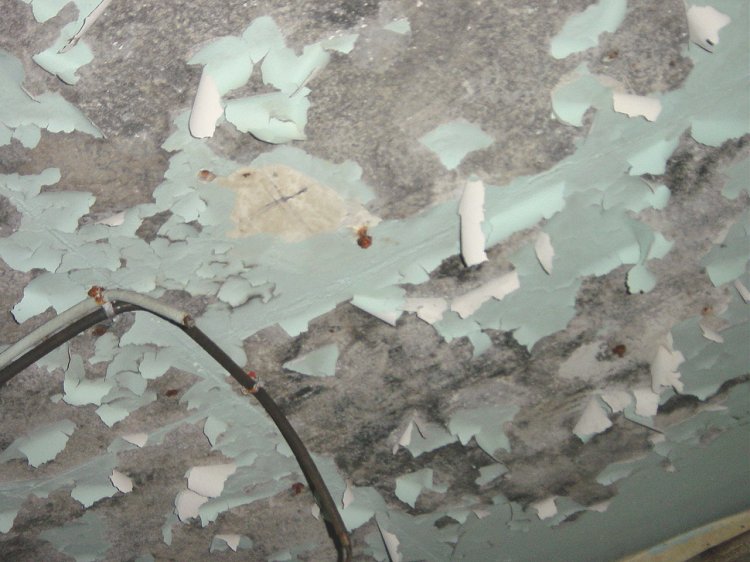
Remains of the paint on the ceiling - 6 September 2003.
Courtesy Andy Little.
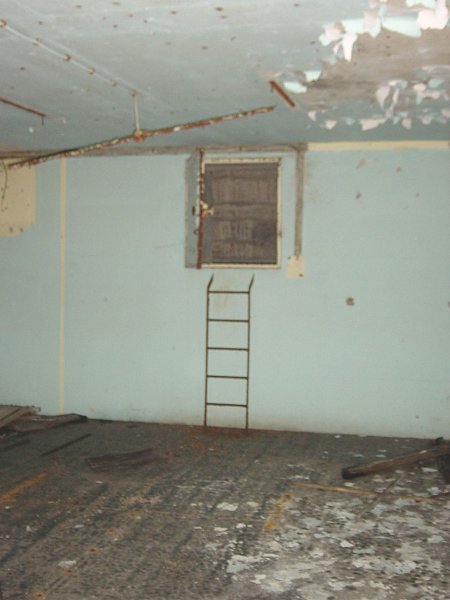
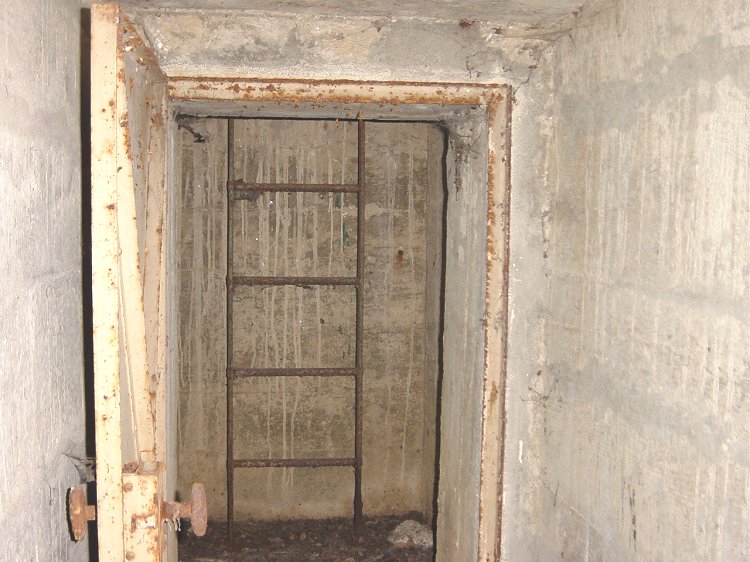
Entrance to the escape shaft - 6 September 2003.
Courtesy Andy Little.
Inside the escape tunnel - 6 September 2003.
Courtesy Andy Little.
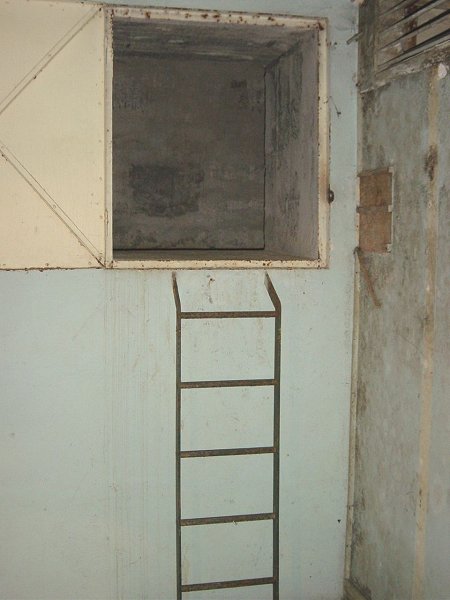
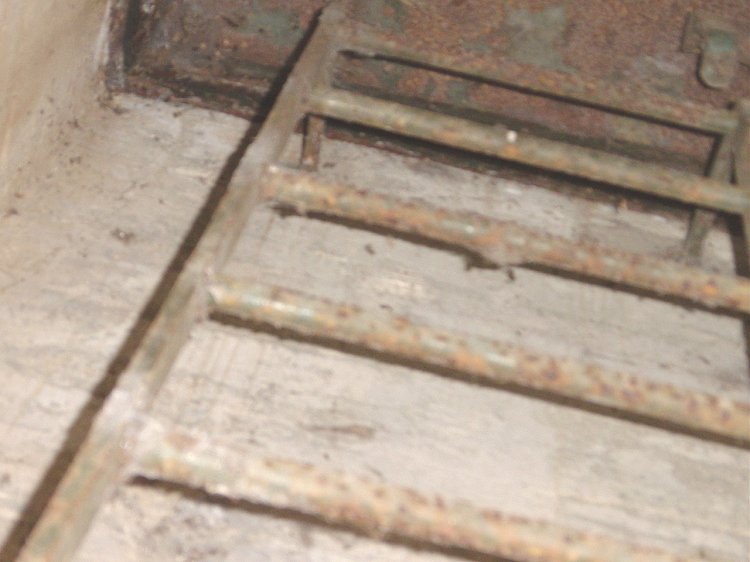
Ladder with a bit of the surface hatch visible - 6 September 2003.
Courtesy Andy Little.
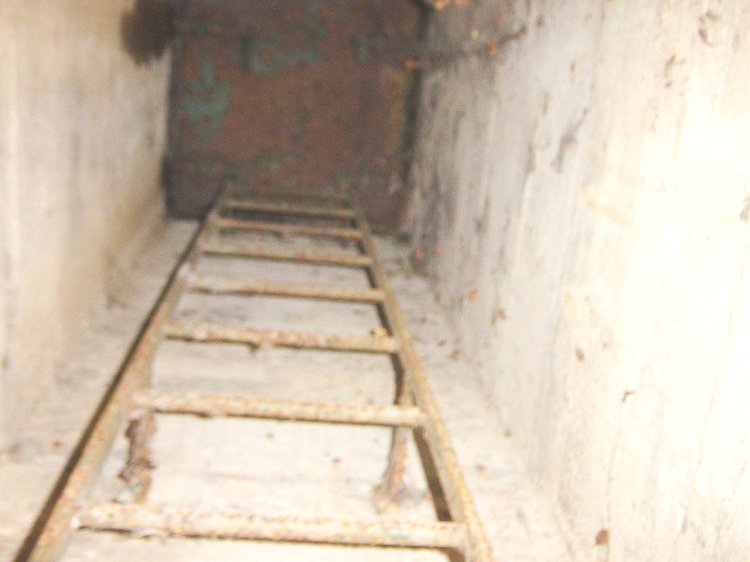
Ladder in the escape shaft with the surface hatch visible - 6 September 2003.
Courtesy Andy Little.
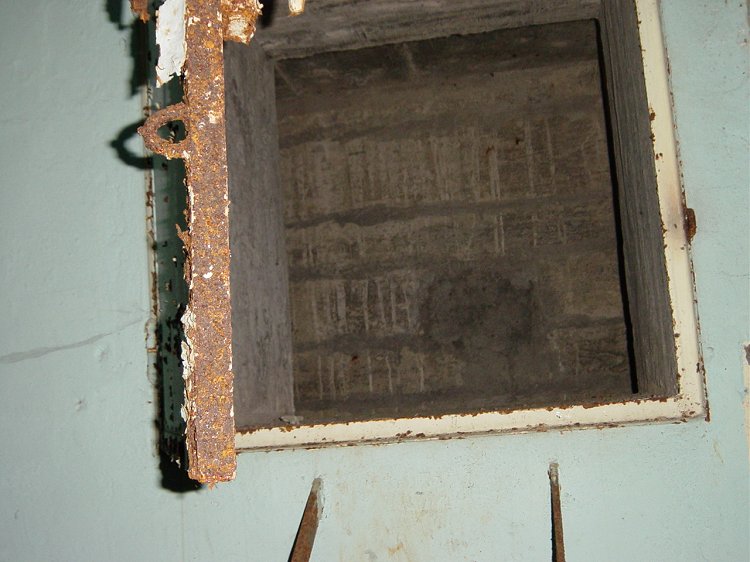
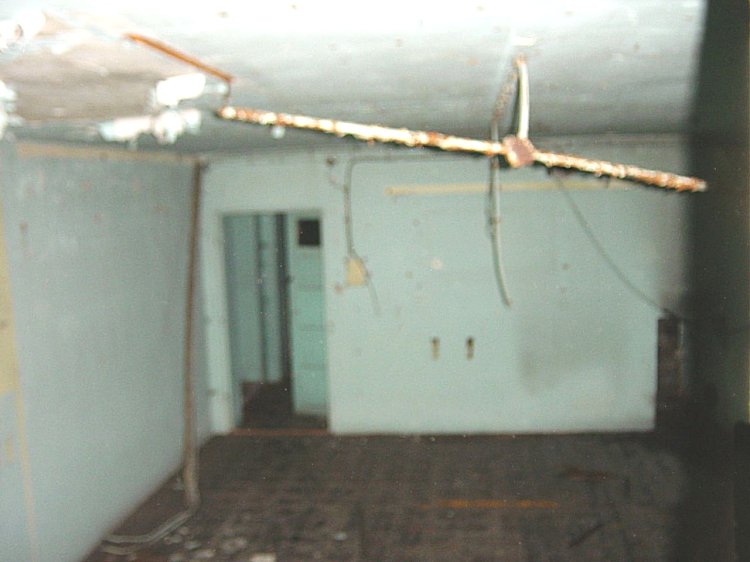
View into the room from within the escape hatch - 6 September 2003.
Courtesy Andy Little.
Detail on main airtight door. Mechanism still functioned - 6 September 2003.
Courtesy Andy Little.
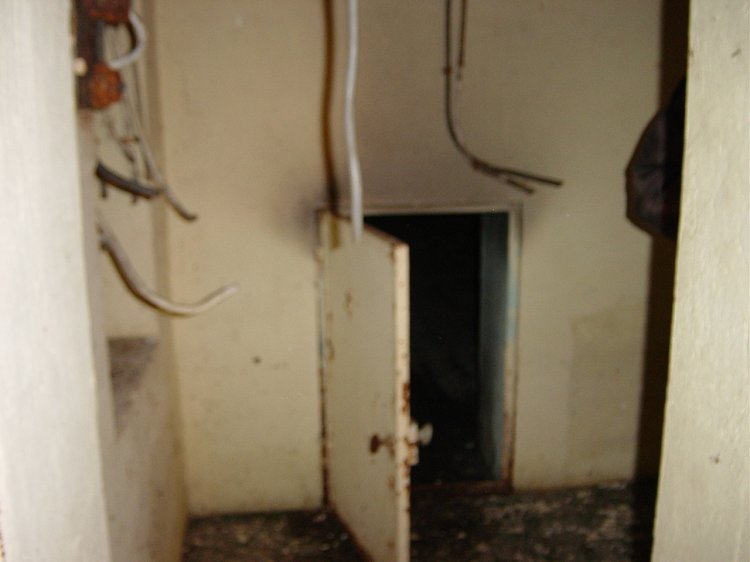
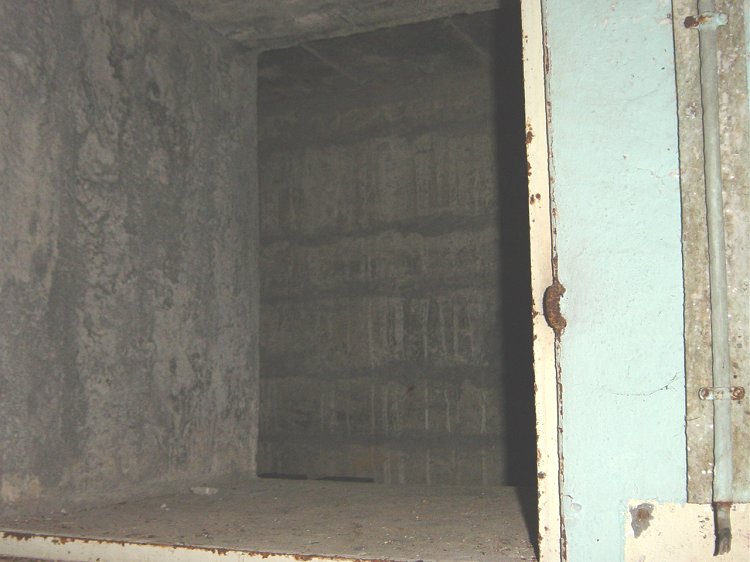
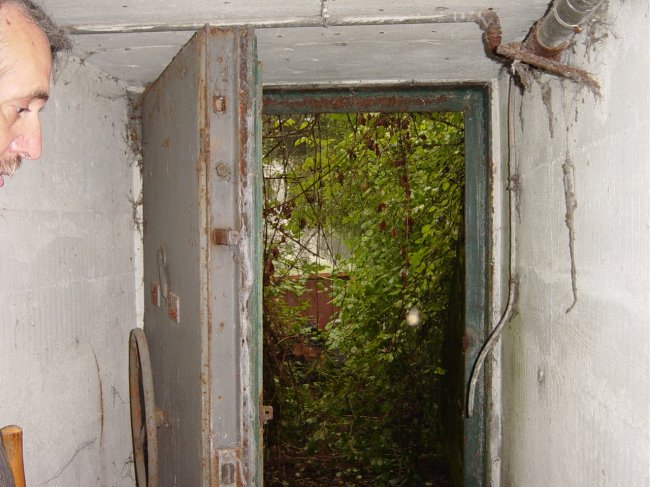
View from inside the access corridore, looking outside of the bunker - 6 September 2003.
Courtesy Andy Little.
Photographic Credits
All photos are used with permission.
Return to the Details Page
Return to Top of Page
About This Page
Updated: November 15, 2003