Click on the description text to view the photograph.
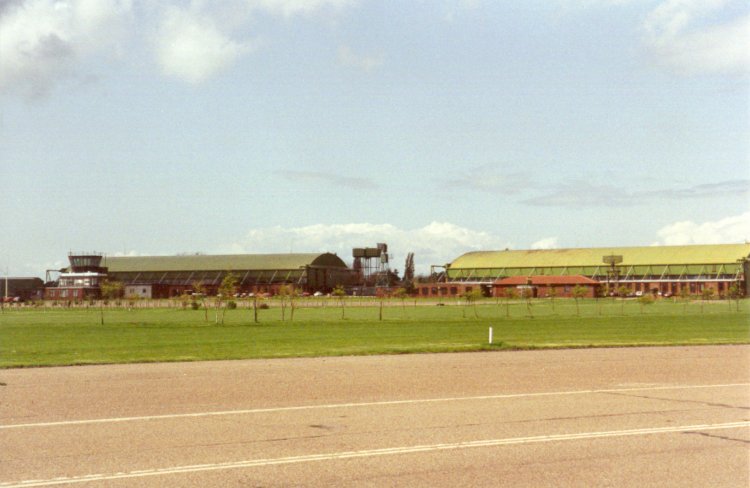
- The two main hangars at North Luffenham - 1992.
The hangar on the left was used by441 and 439 Squadrons with the left end used to house 441 Squadron and the right end of the hangar by 439 Squadron. The hangar on the right was the central maintenance hangar and the control tower and crash crew building can be seen in front of the left hangar.
Courtesy Frank Newberry.
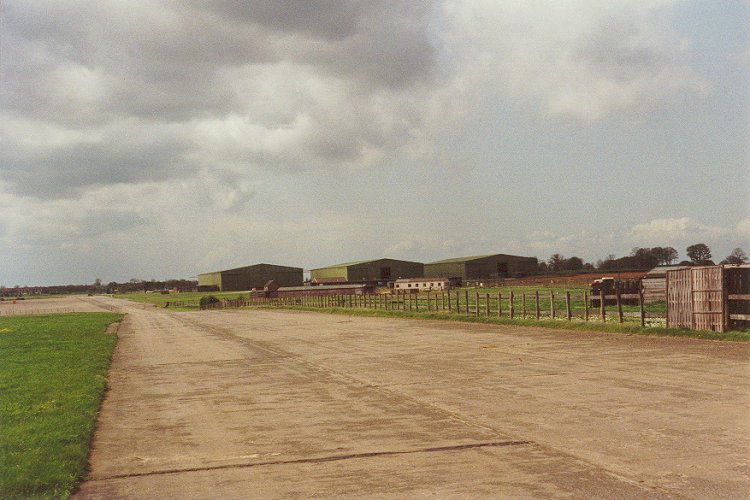
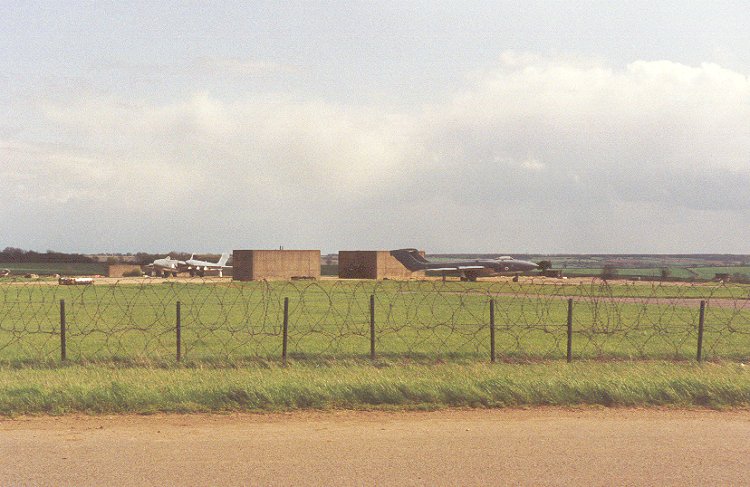
- The three dispersal hangars where 410 Squadron and the Bristol aircraft were located - 1992.
Courtesy Frank Newberry.
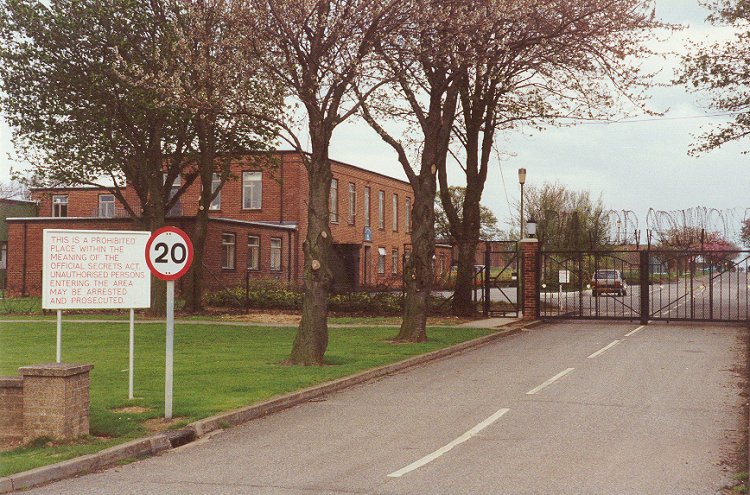
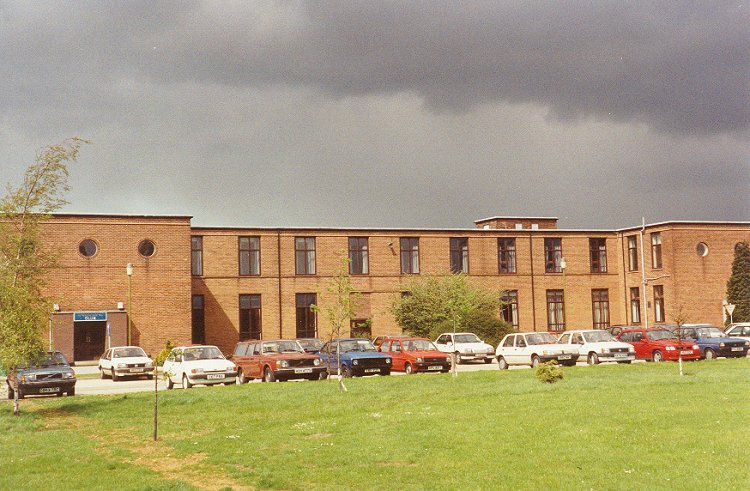
- The main gate and the Administration building (left) - 1992.
Courtesy Frank Newberry.
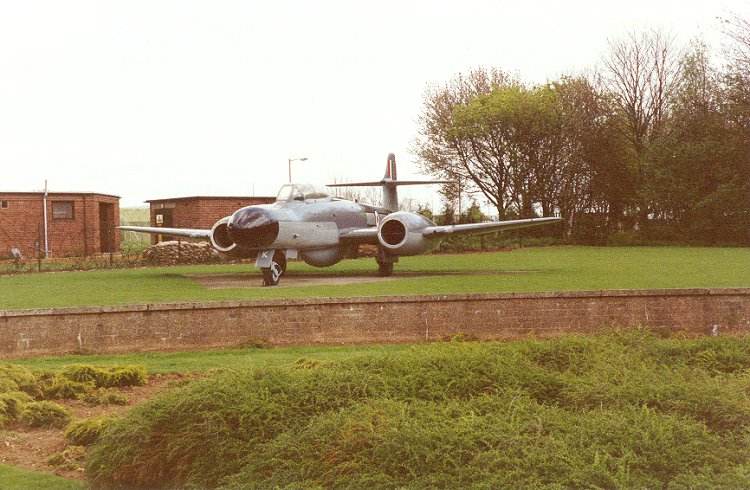
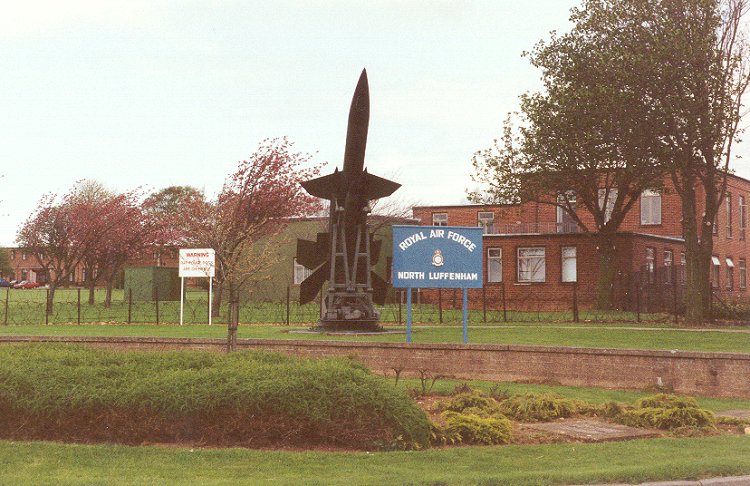
- A "Meteor" serves as a reminder of the "good old days" - 1992.
This aircraft is located on the lawn just inside the main gate.
Courtesy Frank Newberry.
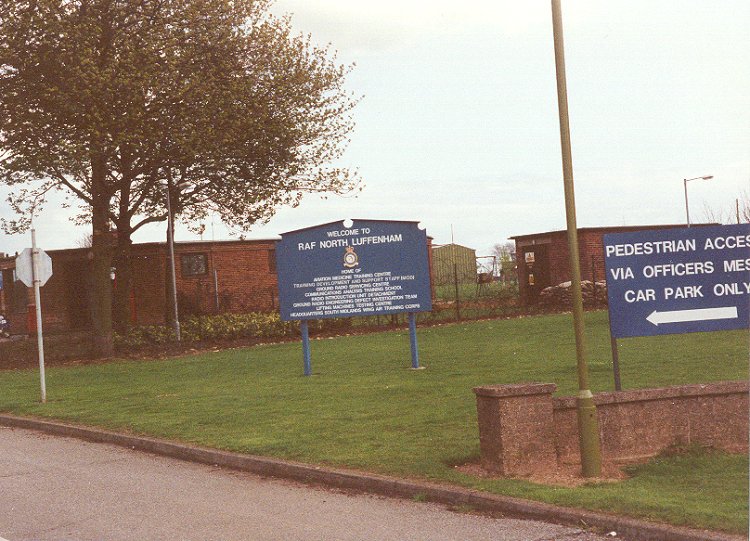
- Another reminder of the past by the main gate - 1992.
Courtesy Frank Newberry.
- The "Station sign" - 1992.
Courtesy Frank Newberry.
- RAF aircraft dump - 1992.
Courtesy Frank Newberry.
- This building served as the Airmen's Mess Hall, the Corporal's Club and the Wet Canteen - 1992.
Courtesy Frank Newberry.
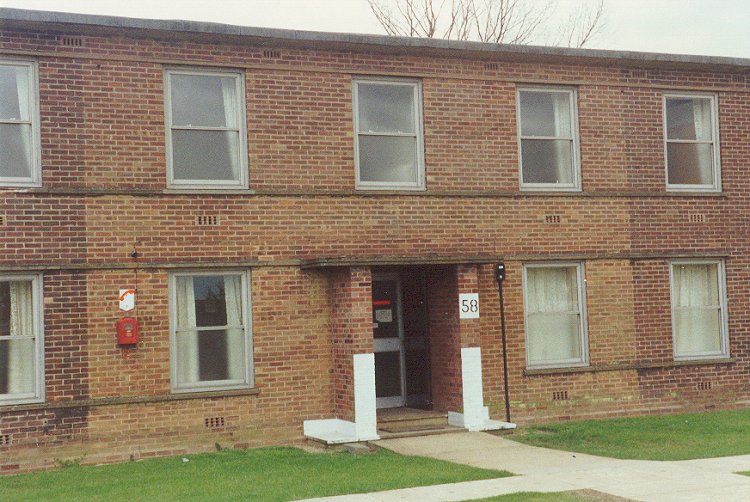
- Barrack Block #58 was used by 439 Squadron personnel - 1992.
Courtesy Frank Newberry.
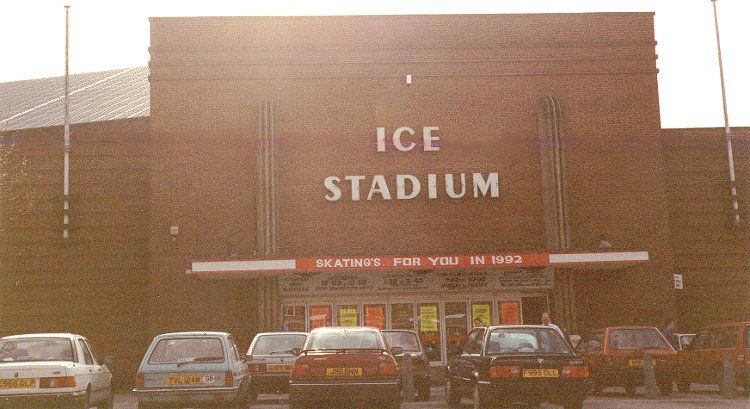
- Nottingham Ice Stadium - 1992.
Many RCAF people watched the Nottingham Panthers play hockey. This arena was also used for public skating.
Courtesy Frank Newberry.
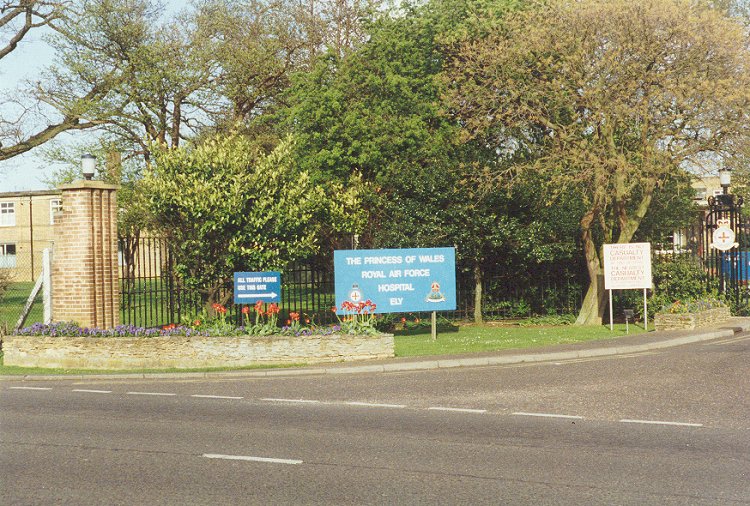
- The main gate of the RAF Hospital at Ely - 1992.
I spent two months in this hospital as a result of a leg injury which occurred on 13 October 1953.
Courtesy Frank Newberry.
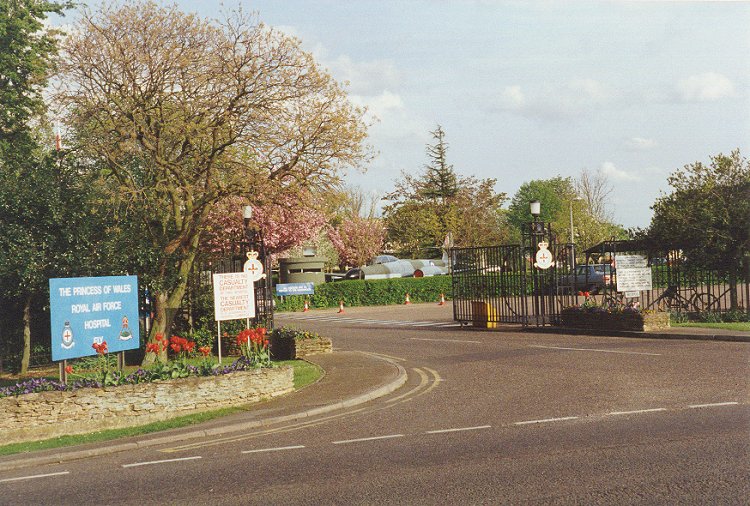
- The main gate at RAF Hospital at Ely - 1992.
Note the pill box just inside the main gate for armed guards who were stationed there with a machine gun to defend against potential attack from Irish terrorists.
Courtesy Frank Newberry.
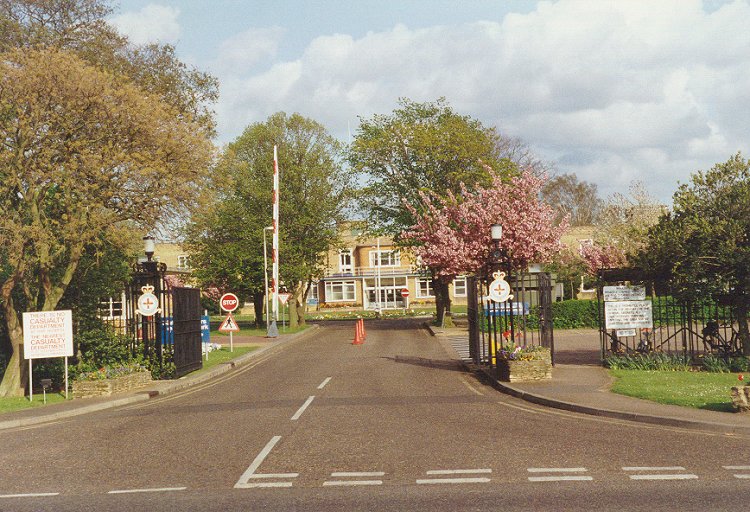
- The main gate to RAF Ely hospital, with the hospital in the background - 1992.
Courtesy Frank Newberry.
|